A game jam entry from November. It’s not possible to beat the troll 🙂 It’s a bug

https://gamejolt.com/games/adventure/the-greatest-story-ever-told/39832/
A game jam entry from November. It’s not possible to beat the troll 🙂 It’s a bug
https://gamejolt.com/games/adventure/the-greatest-story-ever-told/39832/


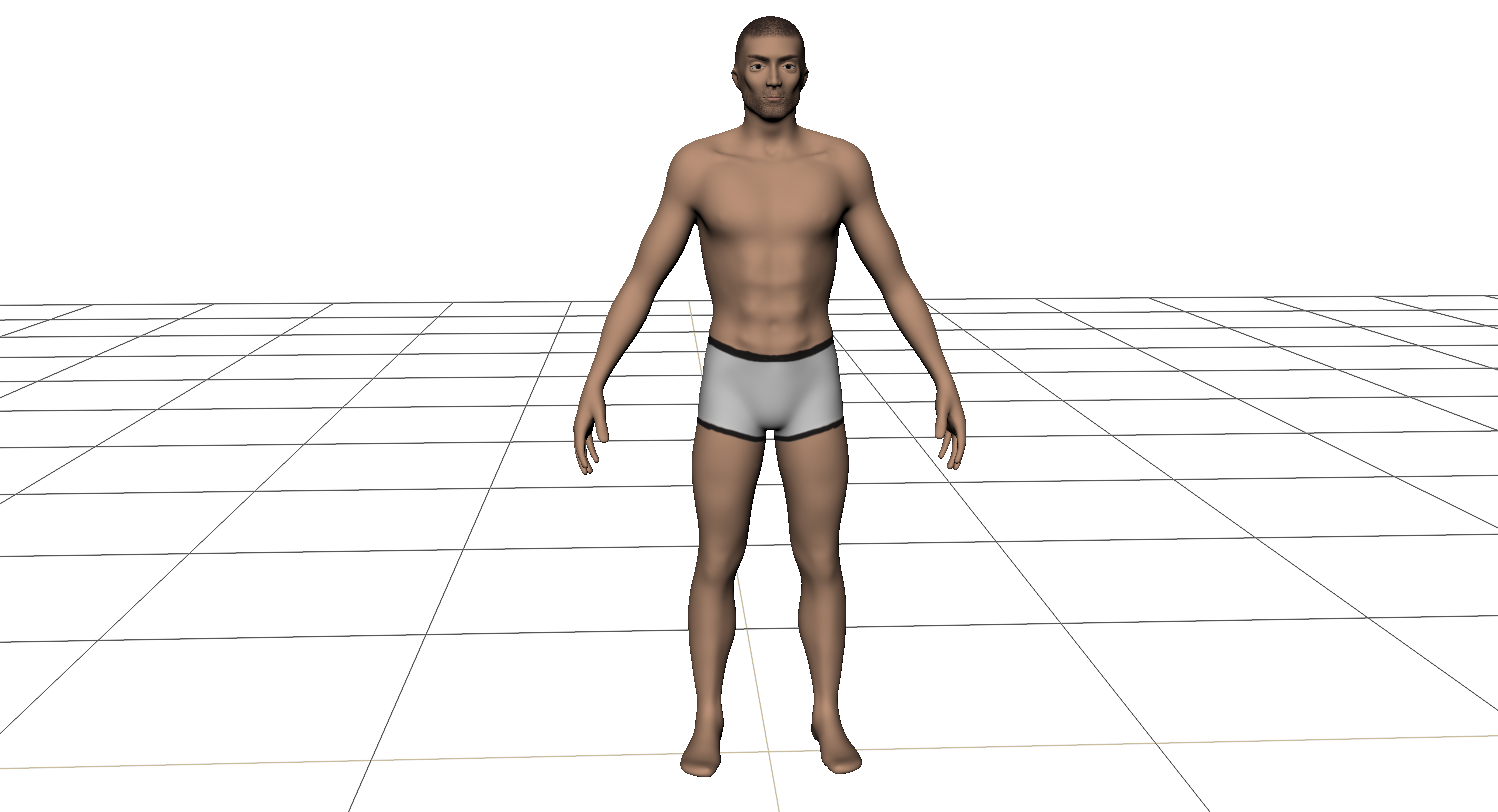


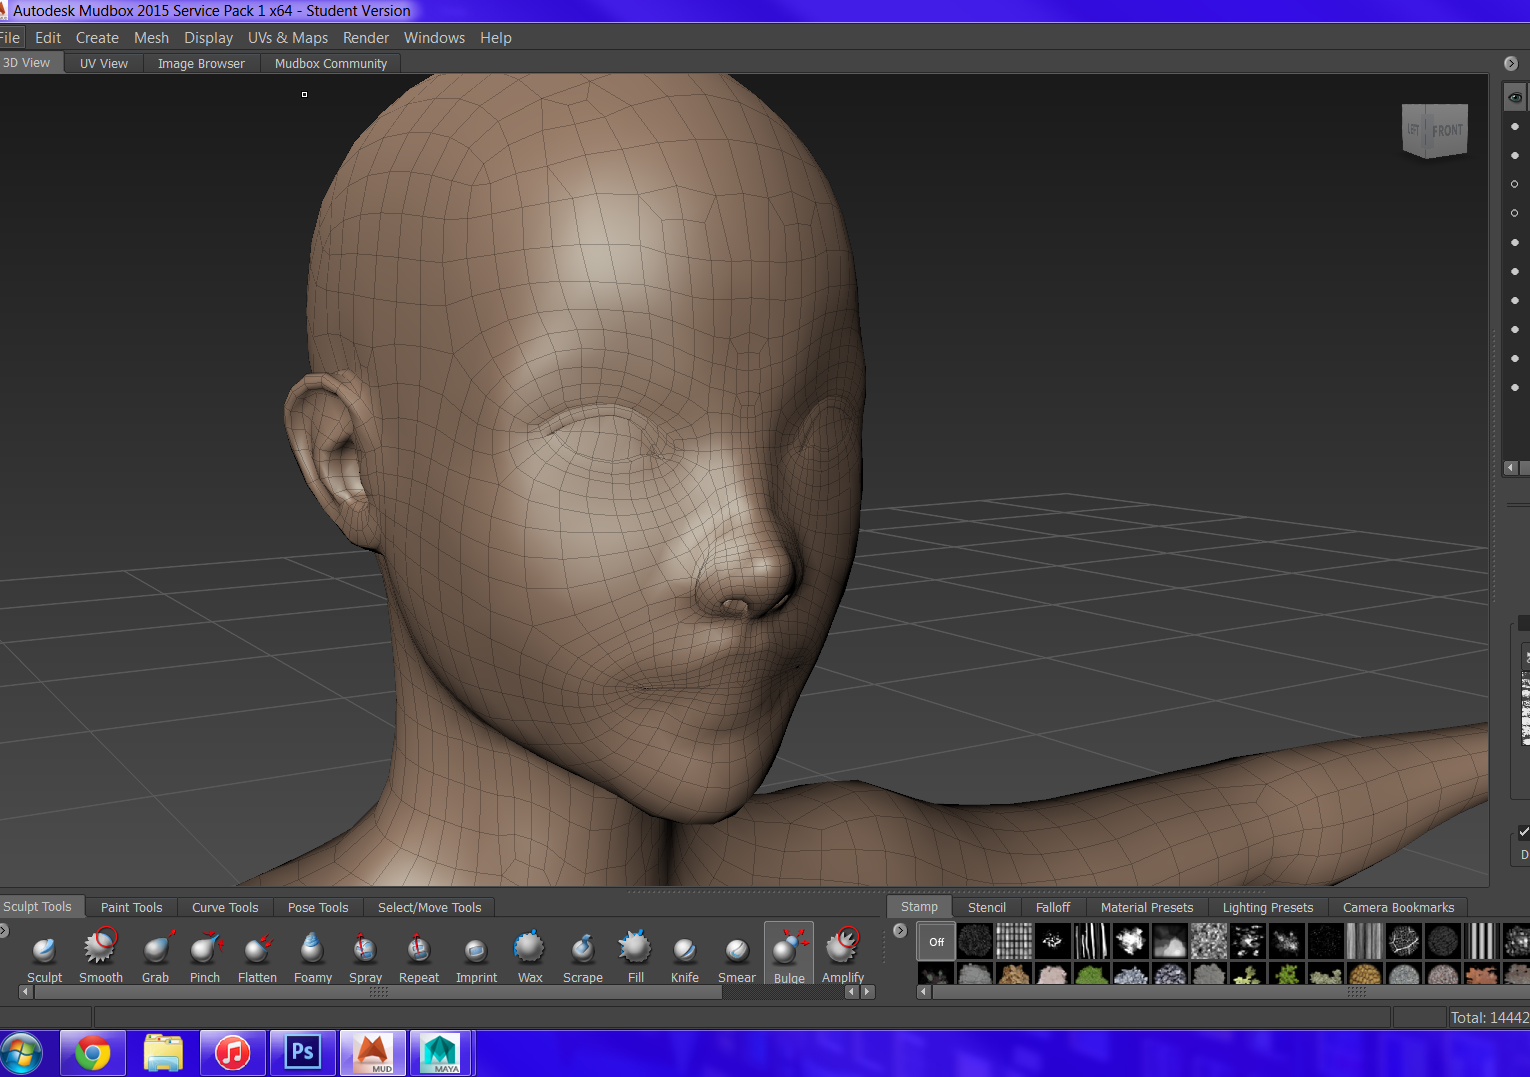
I created this character in Mudbox. I used a reference image of a male figure. In order to improve this model I could create a more realistic skin texture by blending images of human skin in Photoshop and applying them to the model. Also I should accurately measure the distance between the model’s eyes and other features as they are currently not in the right position.

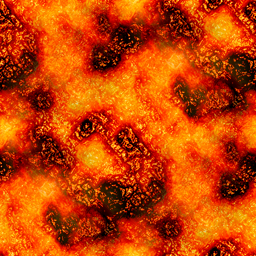


I created this lava- style block using a lava texture then creating a bump map from that image to give the appearance of depth to the texture. I also applied a glow effect.

Level of Detail


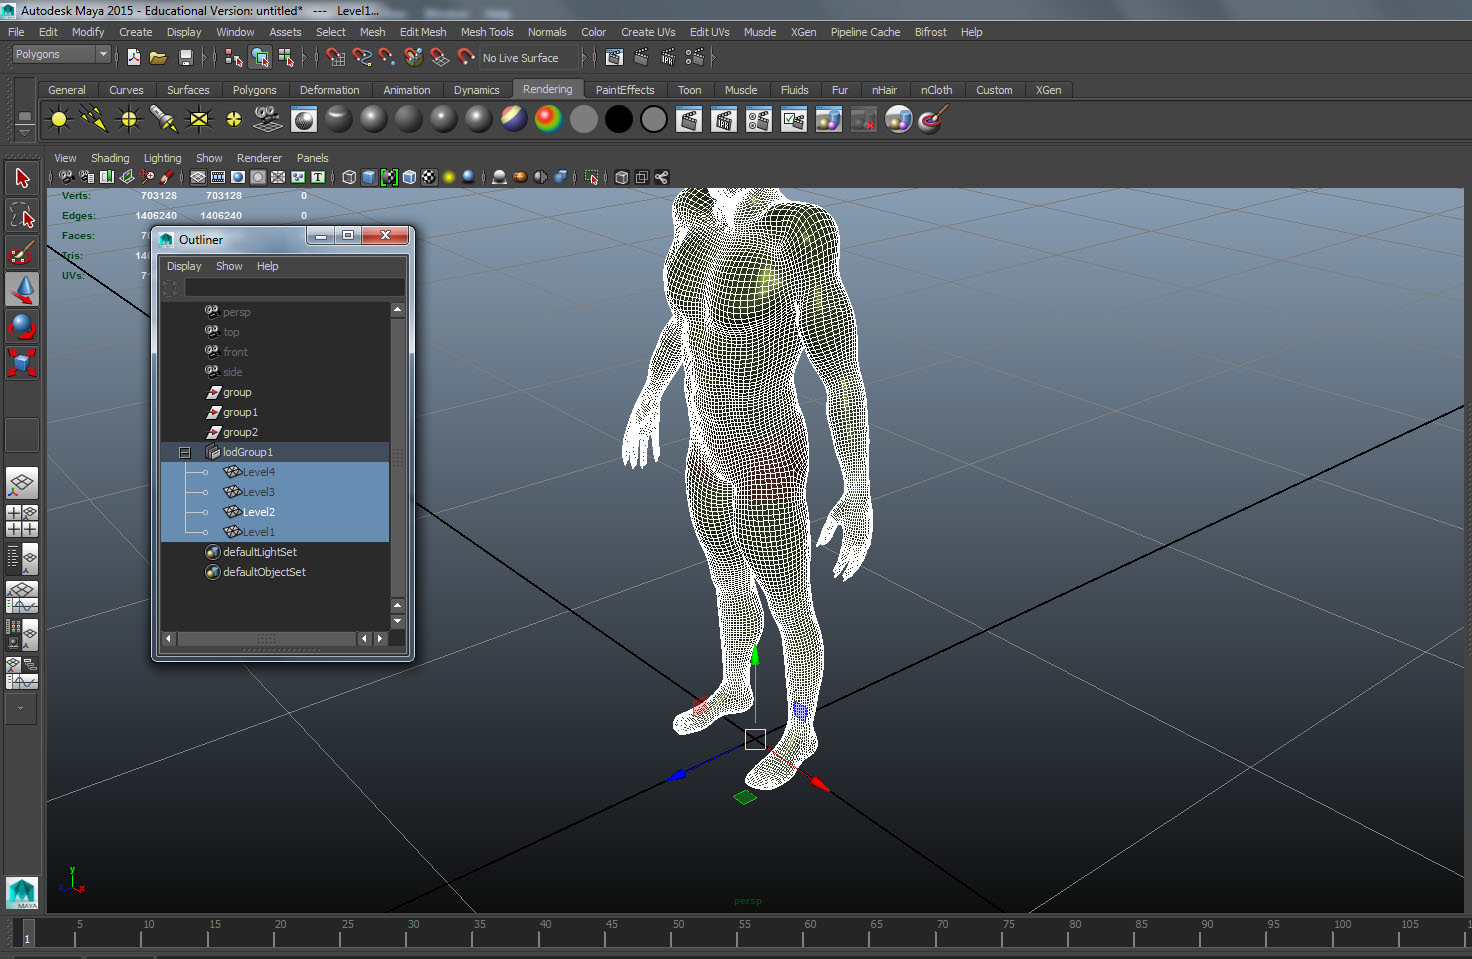
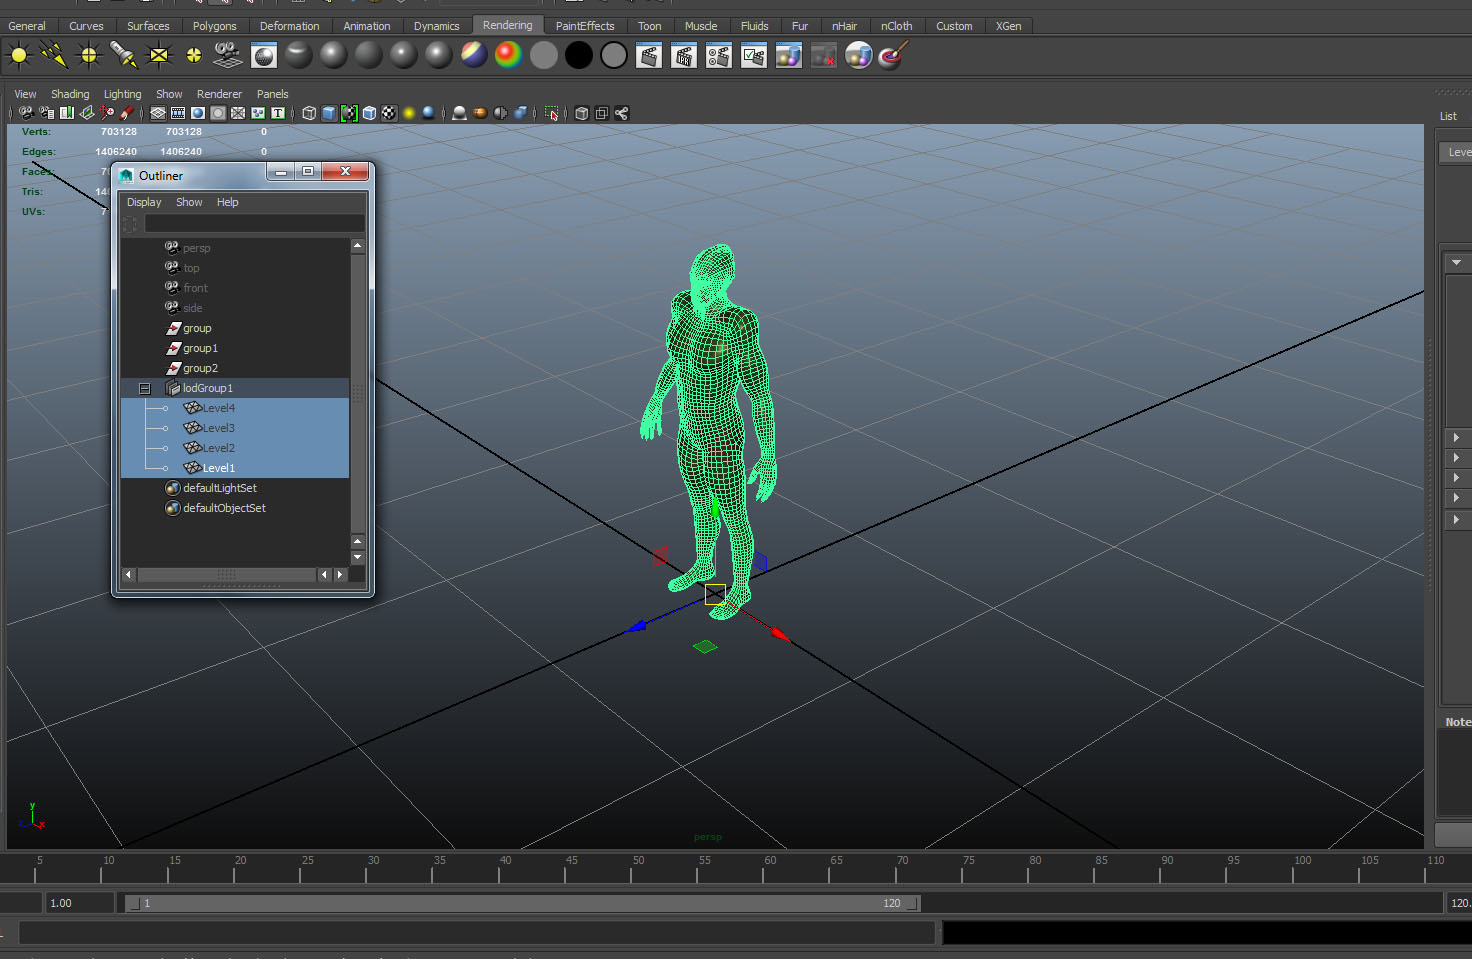

I created this character in Mudbox and used it to show how level of detail can be used. From a distance the version of the model with the fewest polygons and lowest level of detail is shown. Up close, the model with the highest number of polys is shown.
I created these fireworks using particle effects


Blending
Image Sequence
I created an animated texture using an image sequence

Rigging
I downloaded this model from the mudbox community so I could rig it. I found that when I tried to use a different model which wasn’t quite in a T- pose it became almost impossible to arrange the weighting to allow the joints to move smoothly.


https://www.youtube.com/watch?v=stTireCFK7I&feature=youtu.be
I used this base model mesh as my starting point for my characters. I then used the images of faces I created in Photoshop as reference images to model my good and evil characters in Mudbox. The hardest part was creating the mouths but the eyes were also difficult.

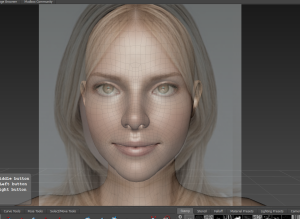


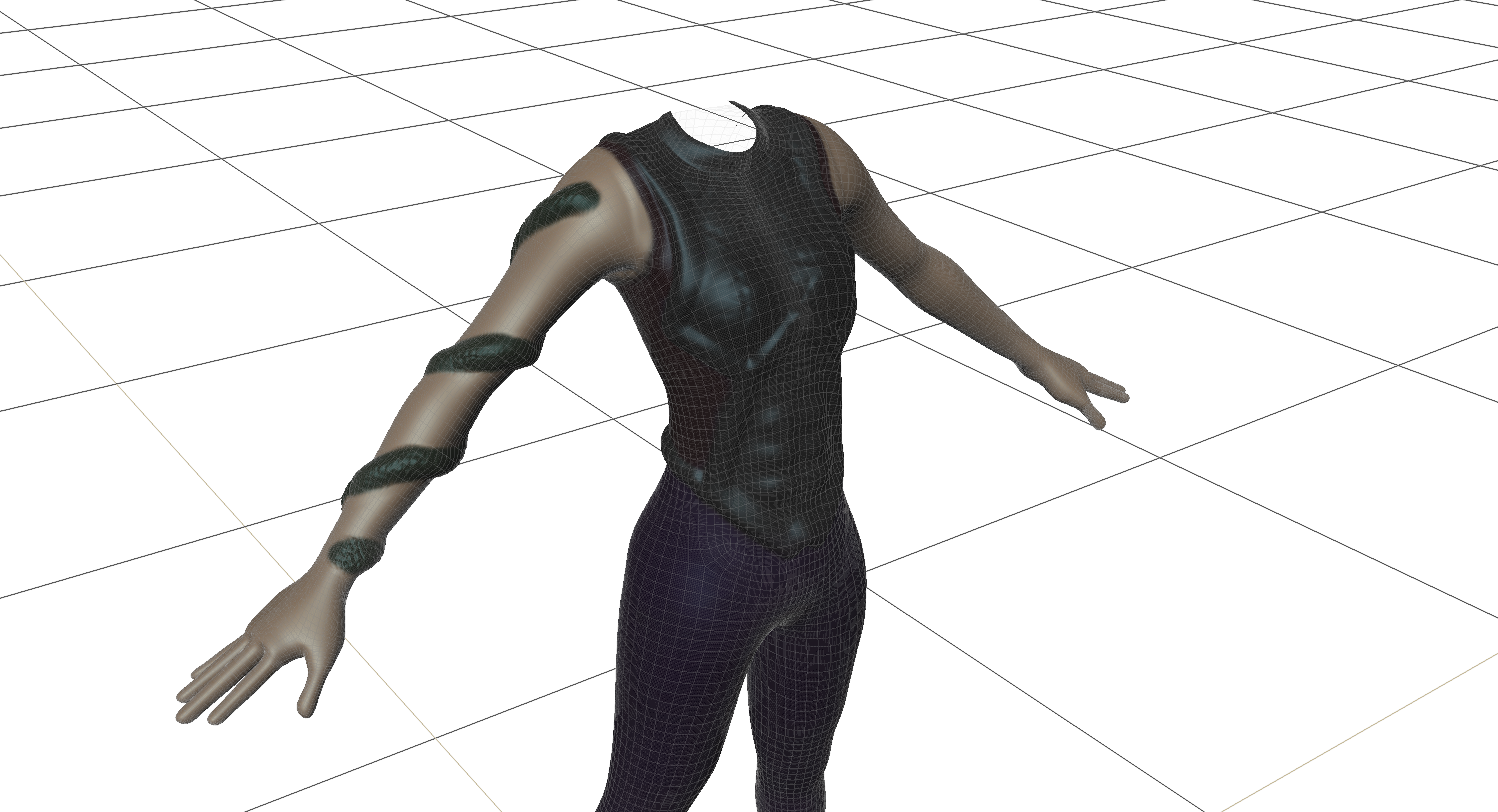
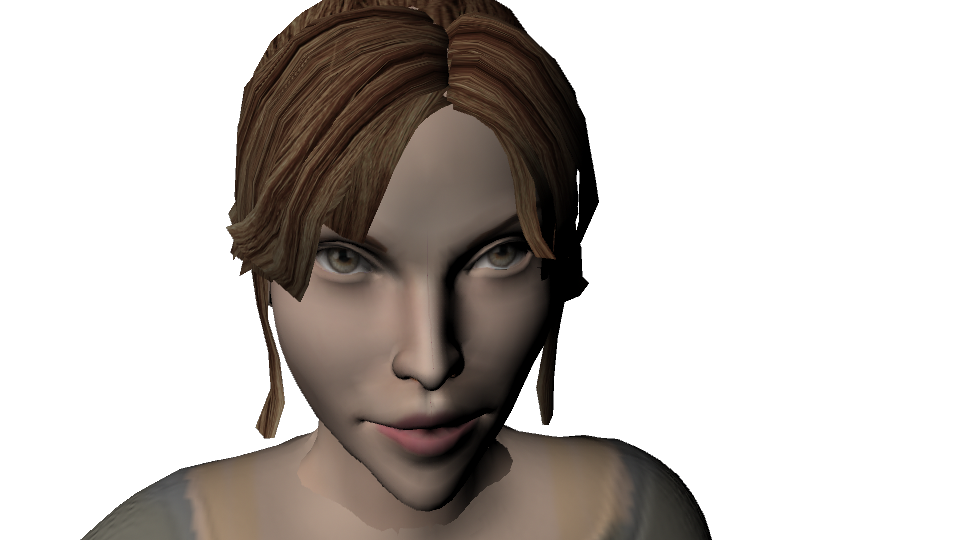
 I have experimented and started applying textures to the characters using Maya and Photoshop. These need to be improved & animated
I have rigged the characters but need to modify the weights to make sure they move properly. I also need to model clothing for the body shared by the characters. I have decided to parent the models’ heads to a single body as I have found it easier to work like this.
I have created a neutral state model, as well as the different models for use in LOD.


The rain in my scene didn’t render so I have taken a screenshot of the environment with the rain particles working

Last weekend I worked on some models for my team’s entry for Ludum Dare.
This is the resulting game, although my contribution wasn’t the huge this time. I created the sleigh, sweet bombs, candy canes and presents, and snowball which i created in mudbox then reduce the polys in maya. Oh I also did the voice for the elf ;P
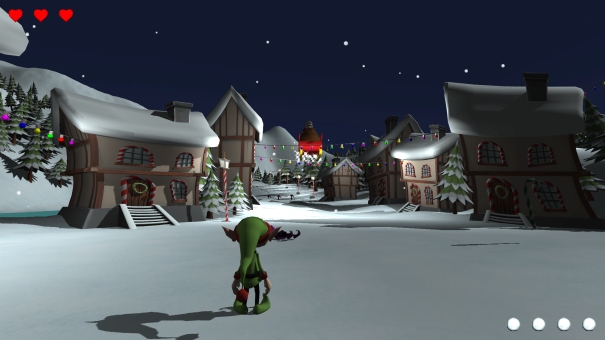


Here’s a let’s play video 🙂
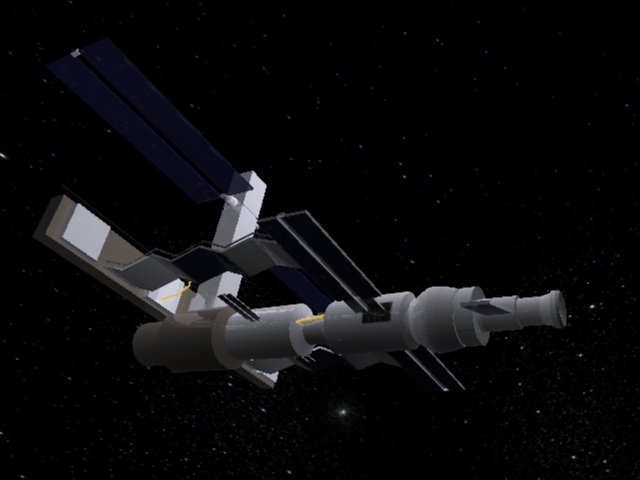
For my assessment yesterday I created a space station. I didn’t include as much detail as I would have liked. I also had to submit my first version of the model, when usually I would create the model several times to improve it each time.


Little Shop Of Horrors.
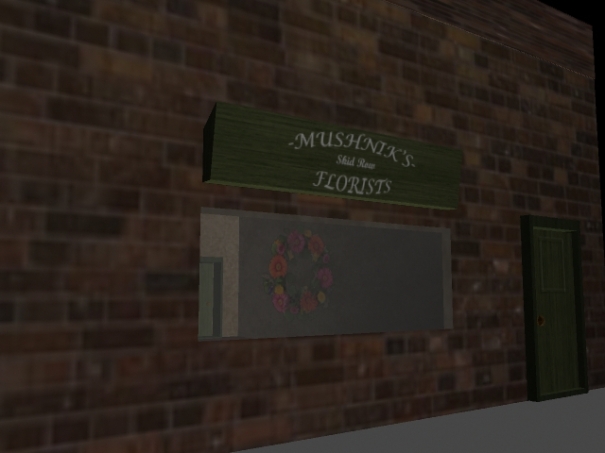
I have created a different version of the flower shop because I wasn’t happy with the original. There was very little detail on the outside of the building and the topology wasn’t great. I also realised that a corner shop would fit in better with the downtown scenes the other groups have created.
The basic model of the sho pis going to be used to create all three stages of the shop in the play. The run down shop, the busy, well off version and the jungle when AudreyII has taken over. As well as creating the basic shop model I am creating the second stage of the shop’s development, the refurbished busy shop. Other members of the group should be creating the two other stages.
I’m still not entirely happy with the uv mapping of the brickwork on the outside of the shop so I am going to spend some time getting that right.
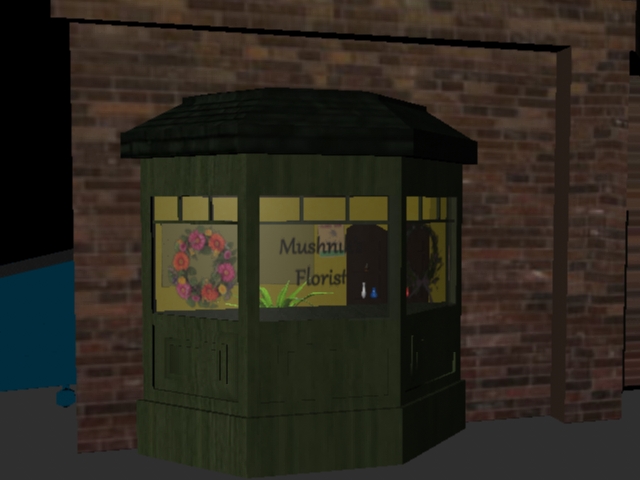 I am very pleased with the way my bay window turned out. I modelled the frame and then created the glass separately. The ‘Mushnik’s Florist’ which appears to be etched into the glass is another plane with a texture and transparency alpha applied, the wreaths in the window are created in the same way.
 The fact that it is now a corner shop gives it more character and allows for more interesting camera angles & more detail as well as blending in with the downtown scenes created by other groups.
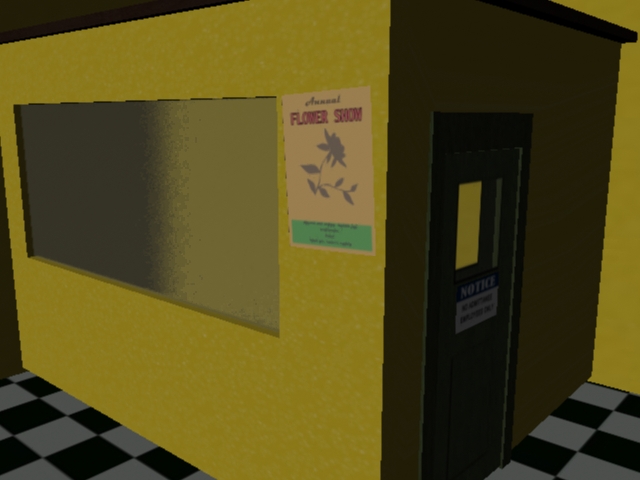
 I moved the pivot point of the door on the shop so it can be opened and closed, it also has a window which allows for a shot inside the shop. I also created an open/closed sign in photoshop.
 Ben decided to create a back room in the shop which surrounds the stairs. It makes the shop a lot smaller but I edited the walls to make them thinner & easier to apply textures to and I added in this frosted glass window using a texture in the Maya library. I am pleased with the way it has turned out but the addition of the back room means that there isn’t as much room for the camera to move around.
 This is a view of the bay window from the inside of the shop. The small flowers in the plant pot are created using the visor tool in Maya. I made a surface inside the pot paintable and painted flowers on to it, I then turned the flowers into polygons so they could be manipulated easily. I created the palm type plant for my game jam project, but it fits in here too, I created its leaves using planes and the pot using a spherical polygon. I also created the watering can in the right of the picture. I like the way the texture turned out, it is from the maya library. The legs of the table were created using curves.
 I created the posters and signs in the shop in Photoshop and applied them as textures to planes in Maya. The chair legs and back were copied from the table I had created earlier.
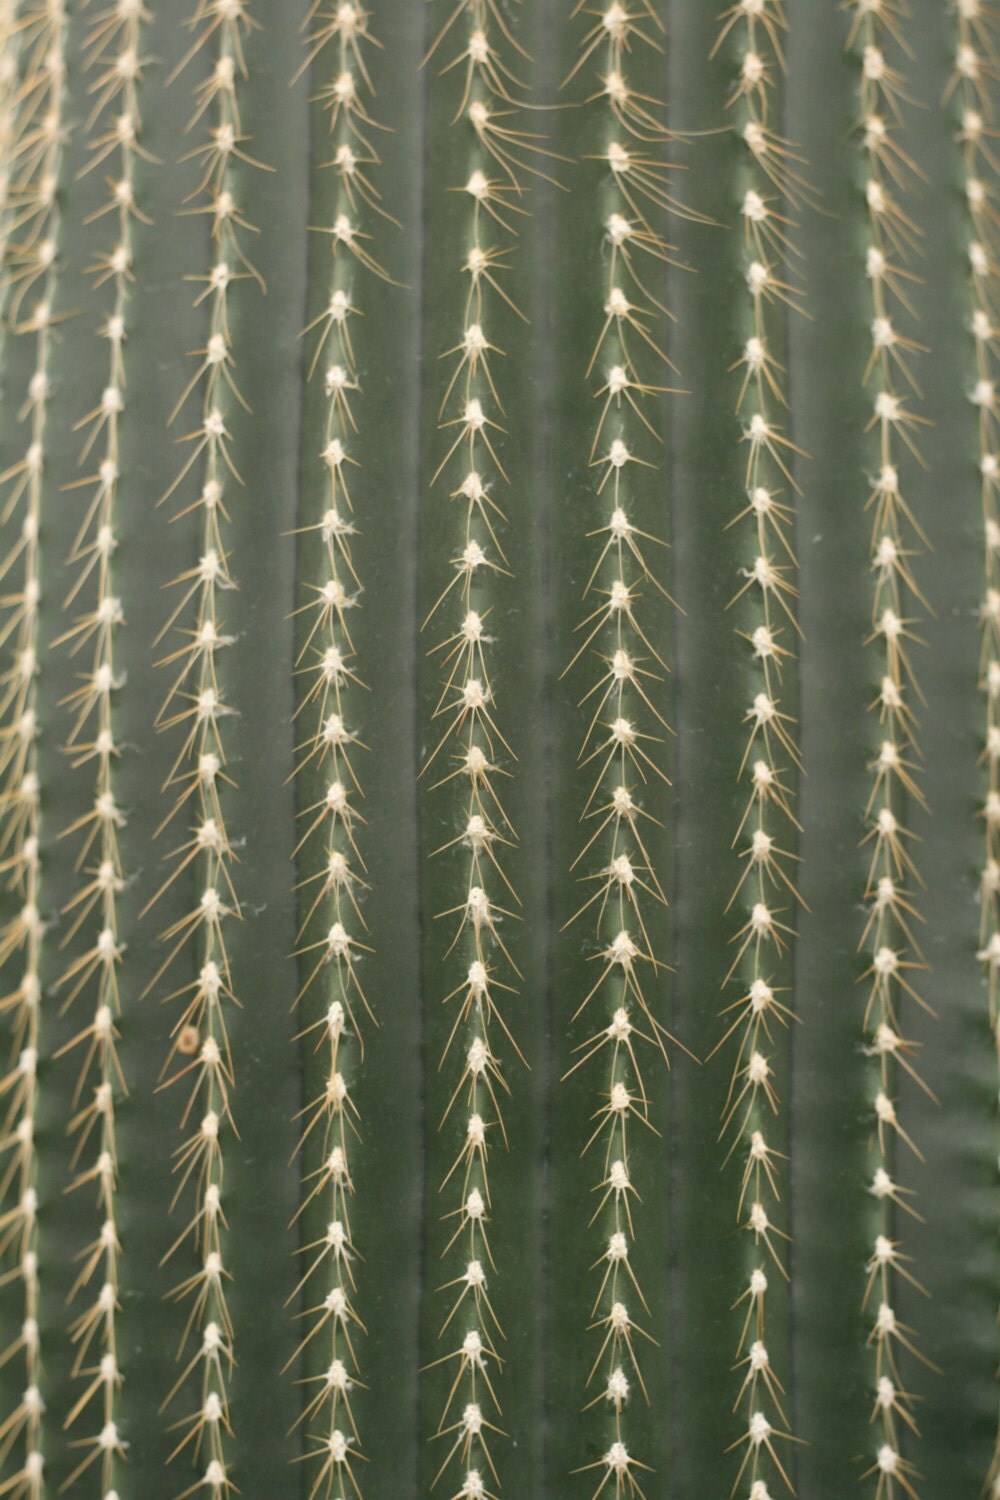
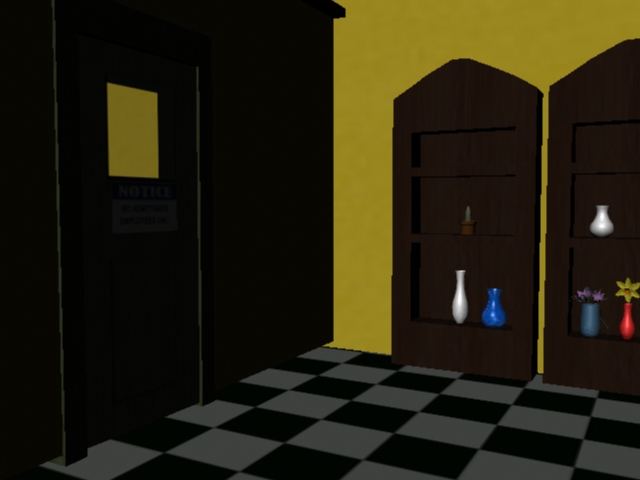 I created these shelving units and applied the same wooden texture I used on the stairs and table. I created the vases using cylinders as well as experimenting with curves for a couple of them. I haven’t created many flowers at this point, but the small purple flowers and the daffodil were created using planes for the petals and cylinder shapes for the stems and the centre of the daffodil. The cactus was created using spherical shapes and a cactus texture I found online and edited in Photoshop.
 Stairs leading down to the basement. I am happy with the way the stairs look, I experimented with different styles of stairs but these seem to fit well and allow more room for the camera to move around.
 There’s nothing in the basement at the moment, hopefully my group will create some furniture to place in there!
 The view through the second window & the wooden sign I created.
Here is the link to our group’s popplet brainstorm for the Little Shop of Horrors project. http://popplet.com/app/#/1397460
I have been working on creating the shop for our project.
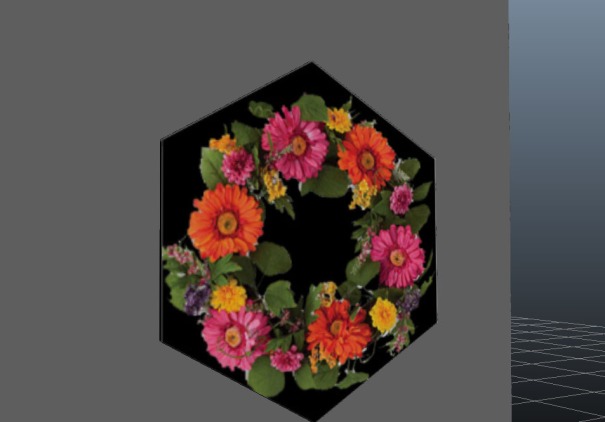

I created this arrangement by making the texture in photoshop then creating an alpha map for the transparency.
Here’s some stuff I have been working on this week. It’s for the Game Jolt game jam, but can also be used for our Little Shop of Horrors project.
The game had some great reviews! Click here to download it!
http://gamejolt.com/games/adventure/murder-at-masquerade-manor/19336/
& here’s a let’s play video of the game

As well as modelling plants and furnishings I have been experimenting with bump maps and various textures. I am trying to make my models as low poly as possible.
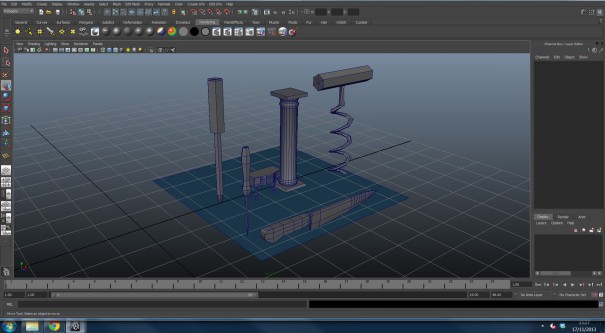 Some weapons I created for the game. They are not to scale in this screenshot!


The gramophone is probably my favourite model I created this week. I learnt a lot about using soft selection to create nice bends and curves in my models.
The game had some great reviews! Click here to download it!
http://gamejolt.com/games/adventure/murder-at-masquerade-manor/19336/
CLICK HERE TO DOWNLOAD THE PROJECT FOLDER
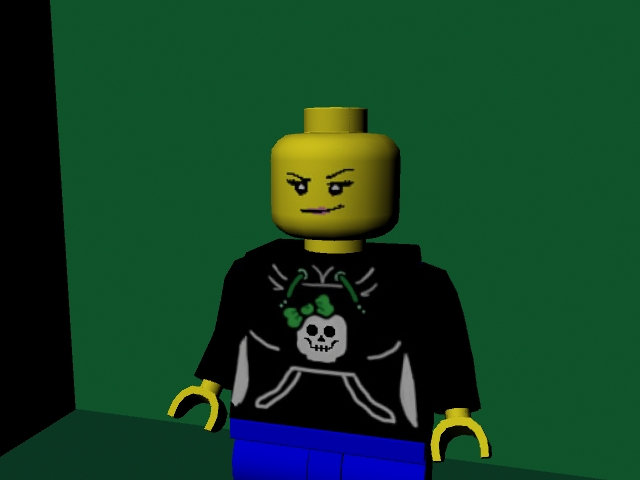
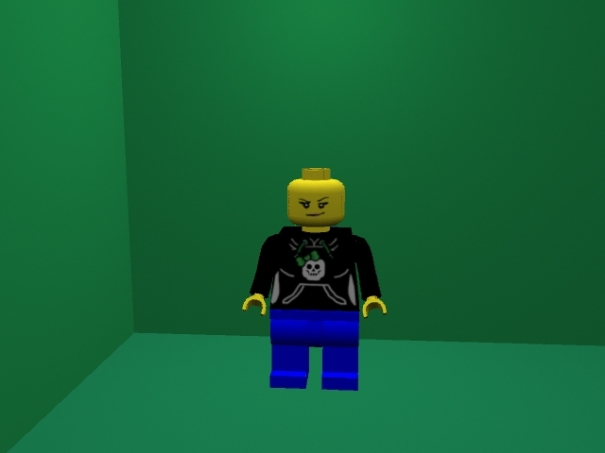
Here are the lego pieces, models and lego character that I have created for the brief.


CLICK HERE TO DOWNLOAD THE PROJECT FOLDER
EDIT:
Apparently I am supposed to photoshop my actual face onto the lego model -_-

I have created the texture for my lego model using uv mapping. I now need to finish the brief by creating hair and an accessory.


